Installing Graphical Network Simulator v3
Learn to install GNS3 onto your workstation or person computer which can be used by most of the labs published by Free CCNA Workbook.
Real World Application
GNS3 is commonly used as a training tool for those whom are interested in learning how to configure Cisco equipment or even those whom are seeking to achieve Cisco Career certifications. GNS3 is used by all levels of Cisco students for training from the CCNA all the way up to the CCIE Certification.
GNS3 was originally intended to be a training tool but has another great use in the real world which is config verification and command verification. If you’re wondering how to setup a feature you have in mind but do not have a router on hand and cannot do it on production routers then fire up GNS3 and you’re free to configure till your fingers are blue.
Lab Prerequisites
- Free CCNA Workbook recommends that your PC has at least a Dual Core processor with 2GB of RAM to run the Stub Area GNS3 topology.
- Free CCNA Workbook highly recommends that your PC have a Quad Core processor with 4GB of RAM.
- Download the GNS3 (Graphical Network Simulator v3) from the link in the side bar or by clicking HERE
Lab Objectives
- Download the Graphical Network Simulator v3 Software (GNS3)
- Install GNS3 on your computer.
Lab Instruction
Step 1. You’ll need to download the GNS3 all in one package from the link provided in the side bar or by clicking HERE You can choose to run it or download it to a folder if you wish to keep the executable.
Step 2. After you have downloaded the installer then run the installer and you’ll be presented with the Installation Wizard (Shown Below). Please note that you need ADMINISTRATIVE privileges to install GNS3 & WINPCAP (Required by GNS3)
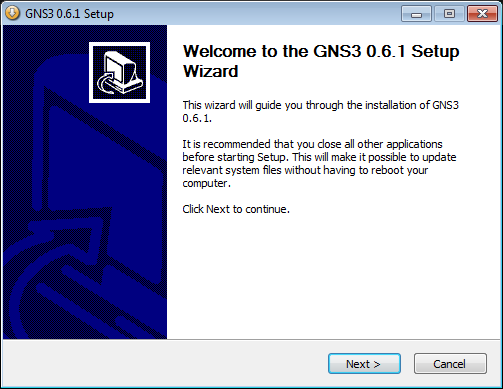
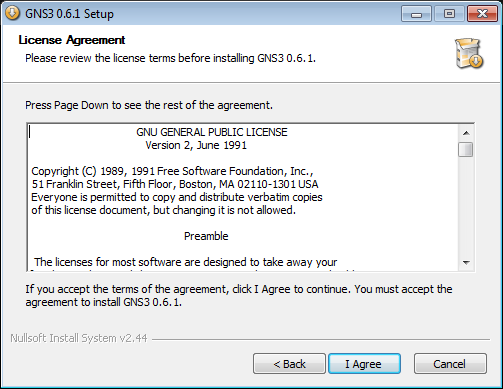
Step 3. After you are presented with the Installation Wizard click next to continue. You are required to agree to and accept the License Agreement for GNS3, if you do not accept this agreement then you must have a physical lab to do the labs found on this website.
Step 4. After accepting the License Agreement you will be presented with the option to rename the default folder name found on the Start Menu from GNS3 to whatever you like. If you wish to change the name of the folder then type it in manually or you can accept the default of “GNS3” and click next.
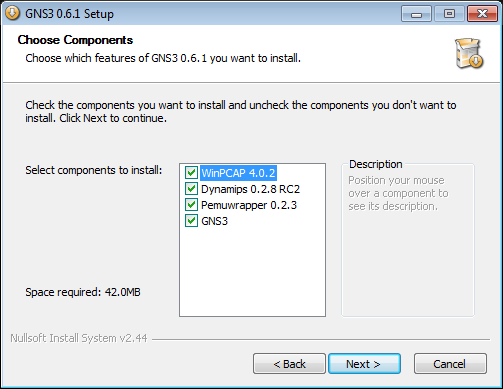
Step 5. Now you are presented with the list of packages included in this GNS3 Installer. WinPCAP is a Packet Capture/Network Monitoring Library that is included with the GNS3 Installer for packet analysis. Dynamips is the actual router emulator software that GNS3 uses; GNS3 is just a graphical user interface for Dynamips. PemuWrapper is a Cisco PIX hardware emulator which allows you to run a PIX device in GNS3 to simulate networks with PIX Firewalls. You can leave all of these packages Checked and click next.
Step 6. You are now presented with the folder to where the Installer will install GNS3 to. By default GNS3 will install to the location of C:\Program Files\GNS3 If you are running a 64bit OS then GNS3 will install to C:\Program Files (x83)\GNS3
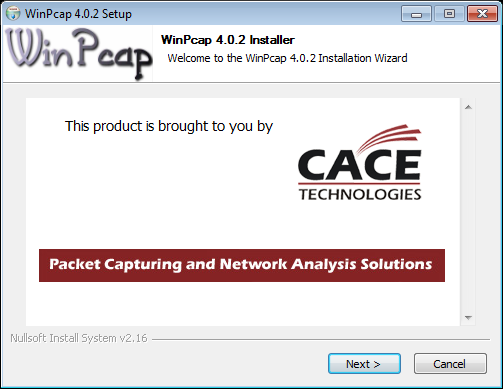
Step 7. The GNS3 installer will automatically download WinPCAP and prompt you to install it as shown below; Click next on the WinPCAP Installer advertisement screen.
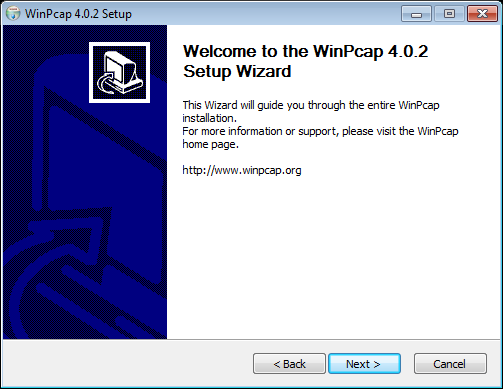
Step 8. Click next on the WinPCAP Installer Welcome Screen.
Step 9. You must accept the License Agreement for WinPCAP to install the software.

Step 10. After accepting the License Agreement for WinPCAP, the software will install, click finish afterwards;

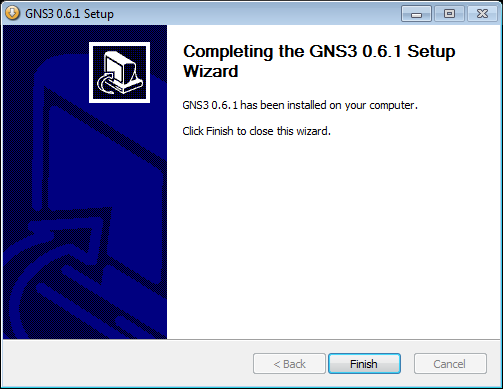
Step 11. After WinPCAP installs GNS3 will install and after its installed You’ve successfully installed GNS3. Click finish to exit the installer.