IOS Web Server Authentication
Cisco IOS has its own integrated web server and by best practice you would never want to allow anonymous access to your device’s flash memory. This lab will discuss and demonstrate the IOS web server authentication mechanism.
Real World Application
Configuring Cisco IOS Web Server (HTTP and HTTPS) authentication is a common configuration used in production networks to authenticate unique users on devices that use self-hosted management web interfaces such as Cisco routers running the Cisco Security Device Manager (SDM) web interface of the Cisco Catalyst Switches that host the Web Based Device Management interface.
Lab Prerequisites
- If you are using GNS3 than load the Free CCNA Workbook GNS3 topology than start devices; R1.
- Establish a console session with devices R1 than configure the devices respected hostname(s).
- If you’re using GNS3 complete this lab than an Ethernet NIO Cloud is required to be connected to R1’s FastEthernet1/0 Interface. Reference Lab 1-8 – Configuring a GNS3 Ethernet NIO Cloud for NIO cloud configuration.
- Configure a local user account with level 15 privileges used for web authentication in this Lab.
- Configure the FastEthernet0/0 interface with DHCP or a Static IP address local to your LAN so you can access the switch via Internet Explorer or FireFox web browser.
Lab Objectives
- Configure R1 to use the domain name “freeccnaworkbook.com”.
- Enable the Cisco IOS Secure Web server by using the ip http secure-server command in global configuration.
- Configure the Cisco IOS Web Service to authenticate to the local user database.
- Verify your configuration by connecting to the device’s FastEthernet0/0 IP Address via Internet Explorer or FireFox and using the credentials configured in the lab prerequisites section.
Lab Instruction
Step 1. – Configure R1 to use the domain name “freeccnaworkbook.com” as shown below;
R1 con0 is now available


Press RETURN to get started.


R1>enable
R1#configure terminal
Enter configuration commands, one per line.  End with CNTL/Z.
R1(config)#ip domain-name freeccnaworkbook.com
Step 2. – Enable the Cisco IOS secure web server by executing the ip http secure-server command in global configuration as shown below;
R11(config)#ip http secure-server
% Generating 1024 bit RSA keys, keys will be non-exportable...[OK]
%SSH-5-ENABLED: SSH 1.99 has been enabled

R1(config)#
Step 3. – Configure the Cisco IOS Web Service to authenticate to the local user database as shown below;
R1(config)#ip http authentication local
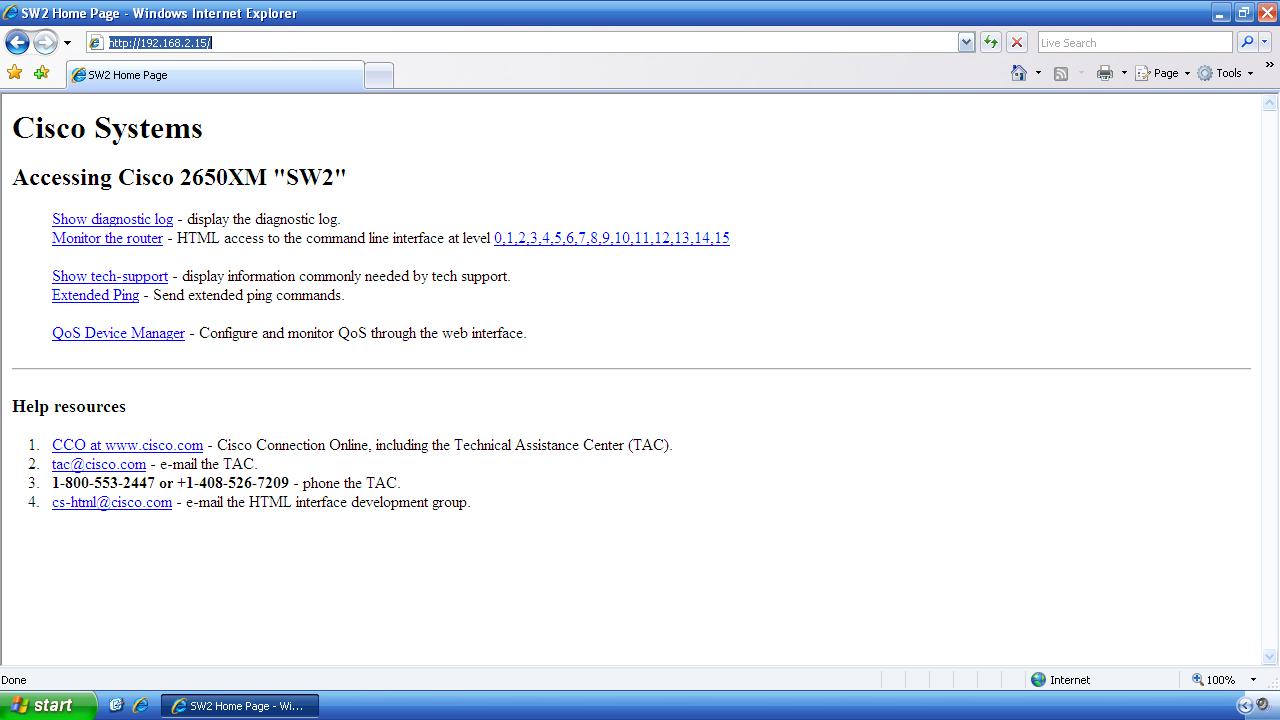
Step 4. – Verify your configuration by connecting to the device’s FastEthernet0/0 IP Address via Internet Explorer or FireFox and using the credentials configured in the lab prerequisites section.
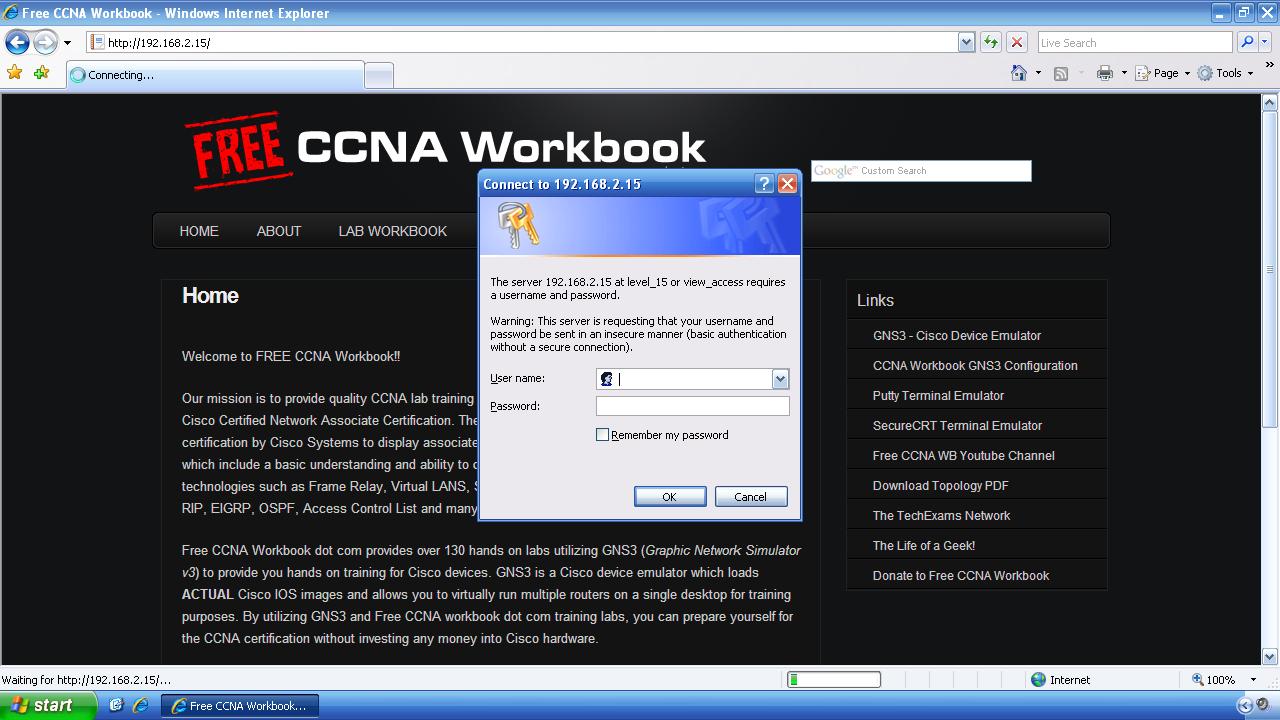
As shown in the image above you are prompted for a username and password. Provide the username and password you created in the prerequisite. Once authenticated successfully you will be presented with the following page;